LED Lighting for your Interior. The factory bulbs that are used on the interior of the vehicle do their job. The dome and door lights come on when you open the doors, the glove box has a light when you open it, and the center console lights up when you flip the lid open. It lights, it works, but the lighting it offers by today’s standards in an LED light future is mediocre at best. The factory bulbs are not very bright, and they give a yellow-looking glow rather than the bright white that modern LED bulbs can offer.
Changing the interior lights to LED bulbs will drastically improve the amount of light projected inside your vehicle. There is even an LED option for the trunk light. Why settle for weak lighting when you can get a much better illumination on your vehicle’s interior by switching to LED lights. At night time this will obviously make a big difference from weak lighting, to actually being able to see inside your car’s interior.
The 2004-2006 Pontiac GTO has the following interior lights:
- Door Lights: 1 on each door
- Map Lights/Dome Light: 1 dome light and 2 map lights located in the overhead dome light assembly
- Center Console Light: 1 light that comes on when the center console lid is flipped open
- Glove Box Light: 1 light that comes on when the passenger side glove box is opened
- Under Dash Lights (Stepwell): 1 on each side of the front cabin area, driver and passenger side. The factory color is green.
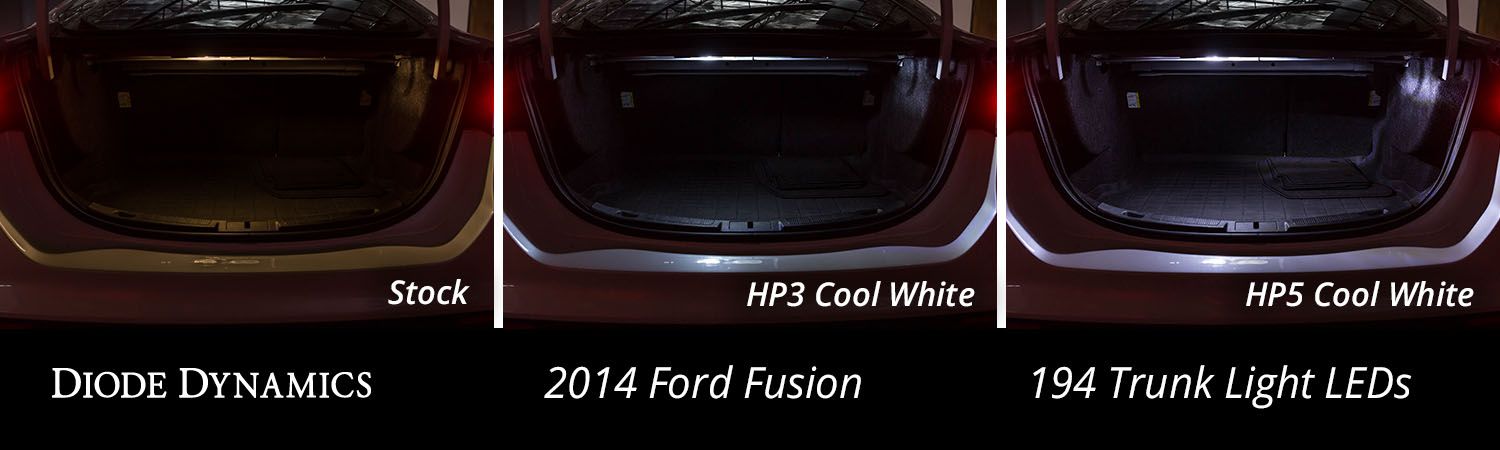
- Trunk Light: 1 light in the trunk when it is opened.
All of these lights are fairly easy to change. A small flat head screwdriver is really all you need to get to the bulbs.
The Best Part About Changing Interior Bulbs To LED
The available LED lights for your interior are all plug-and-play! Simply replace the factory bulbs with the new LED bulbs and receive instant gratification from lighting your interior for better visibility at night. The LED lights will be exact replacements for your factory interior lighting bulbs but will be LED lights instead of light bulbs. Also, LED lights use much less power to illuminate than light bulbs. This means less drain on your car battery, as well as the improved brightness and visibility that LED lights can offer.
Which Companies LED Lights Should I Use?
I have found 2 companies that make decent LED lights alternatives for the interior. The first one is “superbrightleds.com“. The second and the best overall choice for the best and brightest interior LED lights are “Diode Dynamics“.
 Diode Dynamics will be the company we are using for every interior light replacement except one. The under-dash LED lights will be supplied by superbrightleds.com, only because Diode Dynamics does not offer these bulb replacements. Also, do not attempt to change the vanity mirror lights. You have been warned. There is no way to remove the vanity mirror lights from the sun visors without damaging the plastic vanity mirror housing. It has been tried by many including myself, and we all have failed.
Below is a list of the LED lights used with links to the websites where they can be purchased:
| PART | NUMBER OF LIGHTS USED | BULB SIZE | AVAILABLE COLORS | PART NUMBER/LINK | |
Door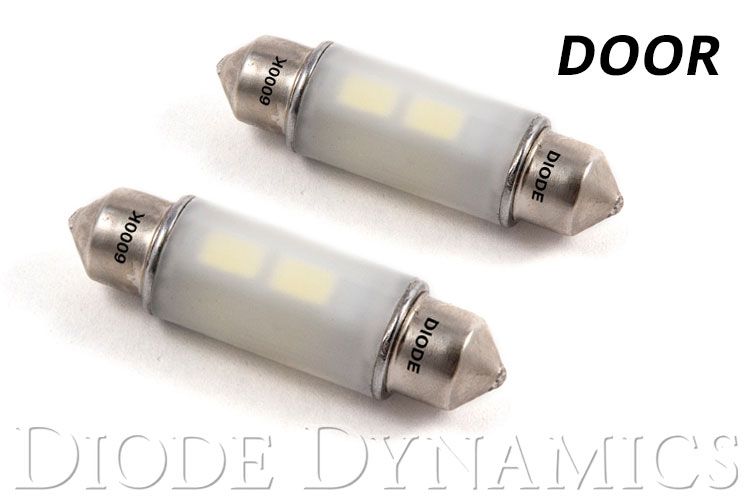 |
2 (one on each door) |
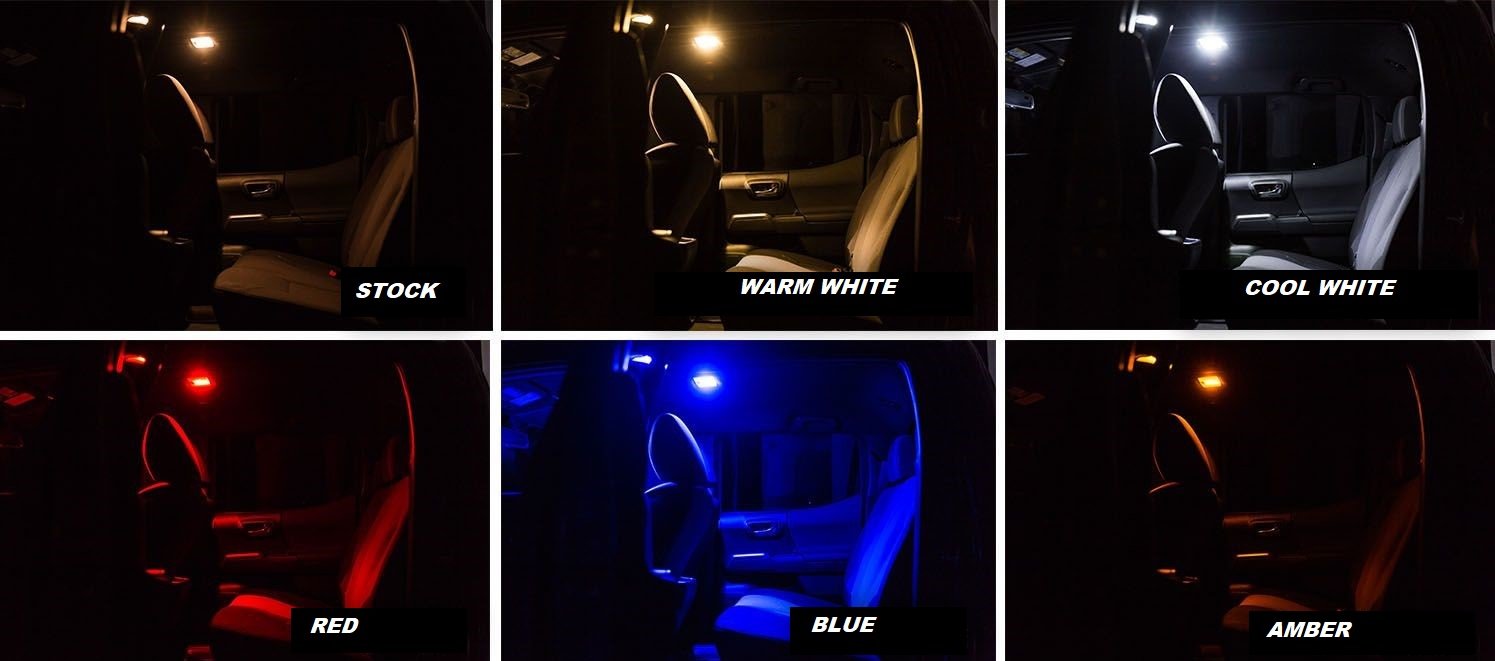
39mm Festoon | Cool White(6000k) Warm White(3000k) Blue Red |
HP6 (130 Lumens) |
|
Map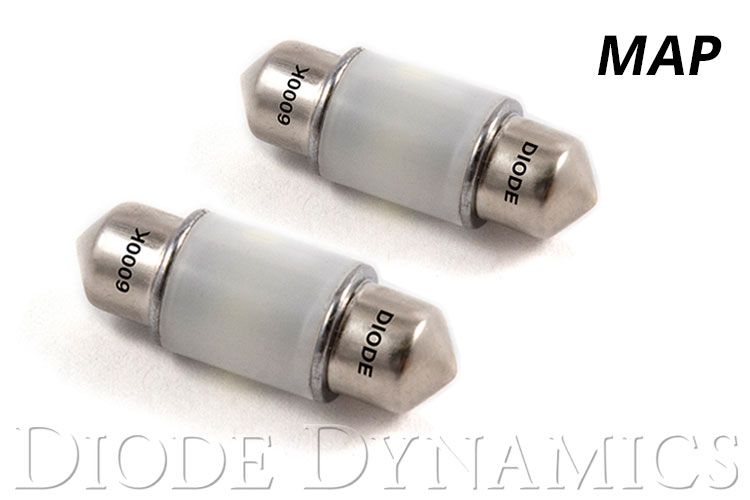 |
2 (one on each side of the dome light assembly) |
31mm Festoon | Cool White(6000k) Warm White(3000k) Blue Red |
HP6 (130 Lumens) |
|
Dome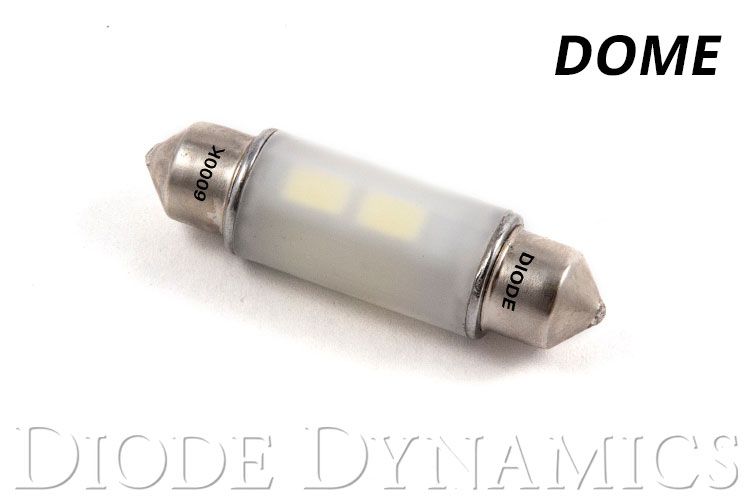 |
1 (center bulb of the dome light overhead assembly) |
39mm Festoon | Cool White(6000k) Warm White(3000k) Blue Red |
HP6 (130 Lumens) |
|
Trunk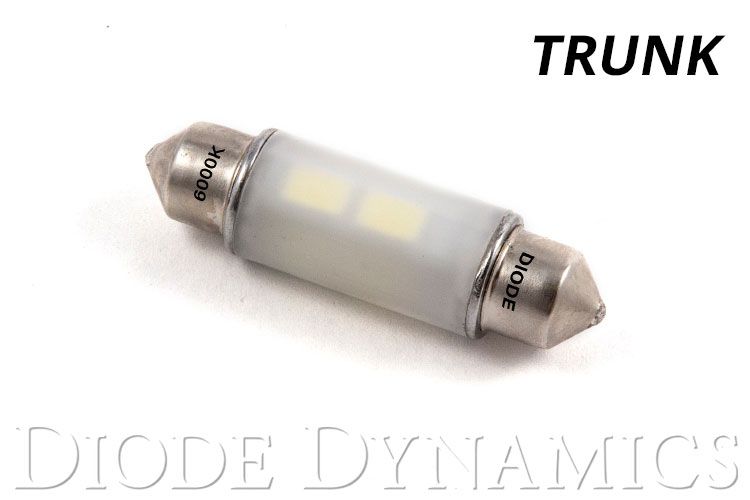 |
1 | 39mm Festoon | Cool White(6000k) Warm White(3000k) Blue Red |
HP6 (130 Lumens) |
|
Center Console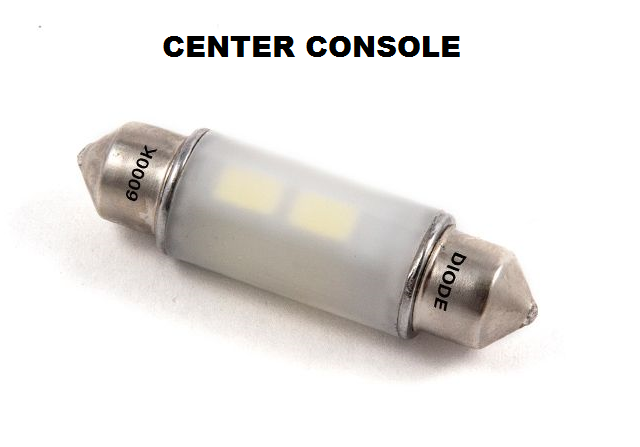 |
1 | 39mm Festoon | Cool White(6000k) Warm White(3000k) Blue Red |
HP6 (130 Lumens)
|
|
Glove Box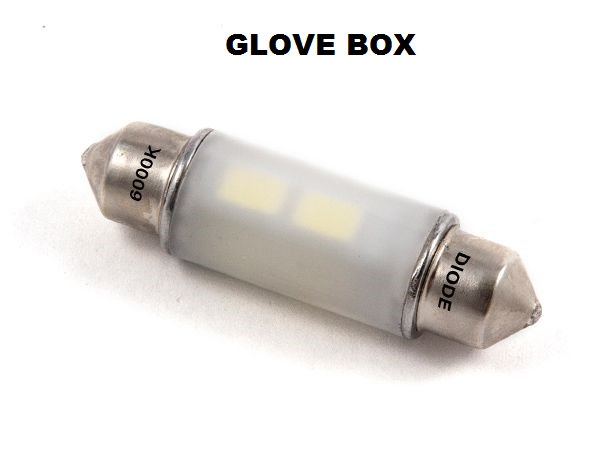 |
1 | 39mm Festoon | Cool White(600k) Warm White(3000k) Blue Red |
HP6 (130 Lumens)
|
|
Under Dash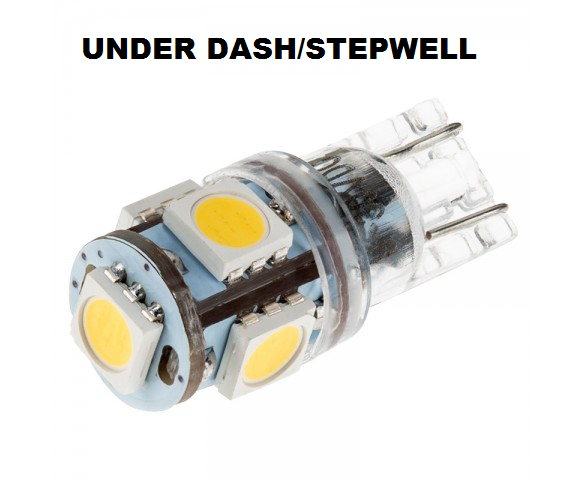 |
2 (one on each side of under dash/stepwell. Driver and passenger side. Stock color is green) |
194 Miniature Wedge | Cool White(6500k) Natural(4000k) Warm(3000k) Red UV Blacklight Purple Amber Green(factory color) Blue |
194-GHP5 (95 Lumens) |
| Note: The trunk, center console, and glove box are all the exact same light and part number for the LED alternative. The center console and glove box are actually 38mm Festoons, so the replacements are 1mm longer. But I assure you they will fit. You may have to bend the metal tabs slightly to fit them into place, but they will work. I have used these in my center console and glove box with zero issues. I have even called and informed Diode Dynamics of this fitment and they have also confirmed that the trunk LED will fit in the glove box and center console as well. |
As you can see, many of the bulbs are the same for different parts of the vehicle. The Trunk, Glove Box, Center Console, Dome Light, and Door Lights actually use the exact same light bulb sizes. The only difference from the factory is the wattage used for each place. But we want bright LED lights on our interior, so we will use the same LED lumens replacement throughout the vehicle.
When you choose which bulbs to purchase, keep this in mind. Colored LED lights will not be as bright as the white ones. The higher the “Lumens” the brighter the bulb will illuminate. The other unit used for LED lights is “Kelvin”.The higher the number, the cooler the color. K is used as a reference number to quickly estimate the light color of a bulb or LED. Color temperatures above the 5,000K mark are cool colors, such as whites and blues. Colors under 5,000K are warm colors, yellowish-white all the way down to red. On this scale, daylight falls between 5,000K and 6,200K. Reds, oranges, yellows, whites, and blues make up the color scale. There are no greens or purples or other colors on this scale as light does not emit in those colors.
| Note: Do not attempt to change the vanity lights on the sun visors. To get to the lights you have to break off the plastic tabs that hold the vanity mirror assembly to the sun visors. The lights are put in at the factory and put in place from behind the plastic vanity mirror assembly. Even if you get the vanity mirror assembly off, you still can’t access the bulbs. Many have tried to replace these lights, including myself, and we have all failed. You have been warned. |
INSTALLATION
This very well could be the easiest installation you will ever do on your 2004-2006 Pontiac GTO ever. And the best part is, you can literally see the results, it’s day and night. Do you see where I am going with this? Anyways, here it is:
- Doors – These will be the hardest lights to change. There are two slots where you can fit a small flat head screwdriver in to pop the door light assembly off. Just going, to be honest here, 9 out of 10 times, the plastic clear lens will pop off of the assembly while you are trying to get it out. If this happens you can easily take a couple of small dabs of Gorilla Glue to put it back into place before re-installing the assembly with the new LED lights installed. Here is a video to show you how it is done:
- Center Console – Flip open the center console and locate the light. Take your small flat head screwdriver to pry the clear plastic lens cover off, use the indented tab to do this. Replace the factory bulb with your new LED bulb. You may need to work the bulb into place a bit. The metal tabs act as a spring to hold the bulb in place. Even though the new bulb is 1mm longer, it will fit. Put the lens cover back on, clicking it into place.
- Glove Box – Open the glove box on the passenger side of the vehicle and locate the light. Take your small flat head screwdriver to gently pry off the lens cover. Use the indented part of the lens to pry. Replace the factory light bulb with your new LED light. You may have to adjust the metal tabs that act as a spring to hold the bulb in place. Place the lens cover back on clicking it into place.
- Dome Light/Map lights – You are going to replace all 3 lights at the same time here. Locate your dome light on the overhead headliner between the passenger and driver seat. There are 2 tabs that hold the plastic lens covering the bulbs. Locate the tabs and gently use a small flat head screwdriver to pry the lens cover off. With the lens cover off you will see a center light bulb which is the dome light. And to the left and right of that light, you will see metal tabs with a hole in them. Under those metal, tabs are the map lights. Remove the metal tabs by using the small flat head screwdriver on the thin part of the metal that is clipped into place. Once the metal tabs are removed you can access the map lights. Change all 3 lights, one dome light, and the 2 map lights. Replace the metal tabs that cover the map lights, they simply click into place. Re-install the dome light lens cover being sure it clicks into place.
- Under Dash/Stepwell – Absolutely the easiest bulb to change. Simply reach under the dashboard and pull out the factory light bulb. Install the new LED light in its place. I noticed the LED wedge bulb is slightly loose compared to the factory bulb but it will go into the socket. If the LED bulb is too loose, you can simply add a little Elmers Glue to the LED light. Put the glue just above the wire connectors of the bulb and just below the light part of the LED bulb. The Elmers Glue will fill the gap and hold the bulb in place without hardening the glue and making it impossible to get back out, and will not ruin the LED light or the light socket. Do not use any form of super glue.
- Trunk – Open the trunk and locate the light. Take your small flat head screwdriver to unsnap the plastic lens cover covering the light. There is an indent where the locking tab is for the lens cover. Replace the factory light with your new LED light. You may have to work the metal tabs that hold the LED light in place. If you have already done all the other lights, you will see the pattern here in how the lights are held in. Place the light lens cover back on by clicking it into place.
For more LED lighting alternatives, check out the LED Lighting Exterior article found on this website.
| Note: I hope you found the information contained on this website useful. Many hours of time and research have gone into building this website. Please feel free to donate to Mark Quitter Racing. Donations will be used to pay for website services or for any other practical use per your request which can be filled out using the PayPal donation link. There is no minimum amount, and your support is greatly appreciated. Donate here. |
Submitted on 03/03/23 at 11:12 am
Hi Mark,
Love your site and looking into the LED lights you recommended. Was wondering is there a difference between the Superbright 194 GHP5 and Dynamics 194 HP5 since you gave the link for the Superbirights for the 194 and all other links are for Dynamics. Would like to get all Dynamics for interior to keep the same hue if the 194 HP5 will work? Thanks for all the work you have put into creating this knowledge packed site!
The reason the link for the under dash/step well lights are different is that Diode Dynamics does not make a 194 bulb for the the under dash lights. I also found these on Amazon and purchased them. They work very well. Here is the link:
https://www.amazon.com/dp/B07T8T6GLN?psc=1&ref=ppx_yo2ov_dt_b_product_details